Label for the person using the space
A useful label tells students exactly what belongs in a location. Specific phrases such as Dry-Erase Markers or Unfinished Work are more helpful than broad labels such as Supplies or Papers. Use vocabulary that matches the language you teach during classroom routines.
For emerging readers, pair concise text with a clear photo or familiar icon. Keep the image style consistent so labels remain easy to scan across the room.
Create one visual system
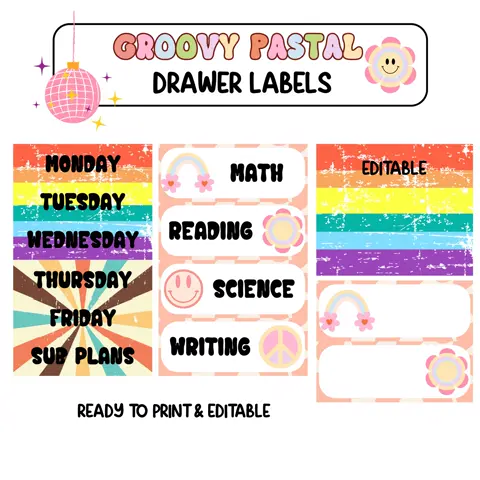
Choose a small set of font sizes, colors, and label shapes. Large location labels can identify classroom zones, medium labels can mark shelves and bins, and small labels can organize drawers or individual tools.
Consistency matters more than making every container match. Repeating the same label style can bring together storage pieces collected from different places and years.
Attach labels for real classroom use
Consider how often a container moves and how students handle it. Laminated or protected labels work well on frequently used bins, while removable adhesive is helpful when categories change. Avoid covering lids, handles, or areas that must be cleaned regularly.
Print one test label and view it from the expected distance. Increase contrast or size if students need to stand directly in front of it before they can read it.
Review labels after students arrive
The first weeks reveal whether the system makes sense. Notice where materials are returned incorrectly, which labels students ignore, and which storage areas still require adult explanations.
Revise the confusing parts instead of adding more labels everywhere. Sometimes a container needs a clearer name; other times it needs to move closer to the place where students actually use it.